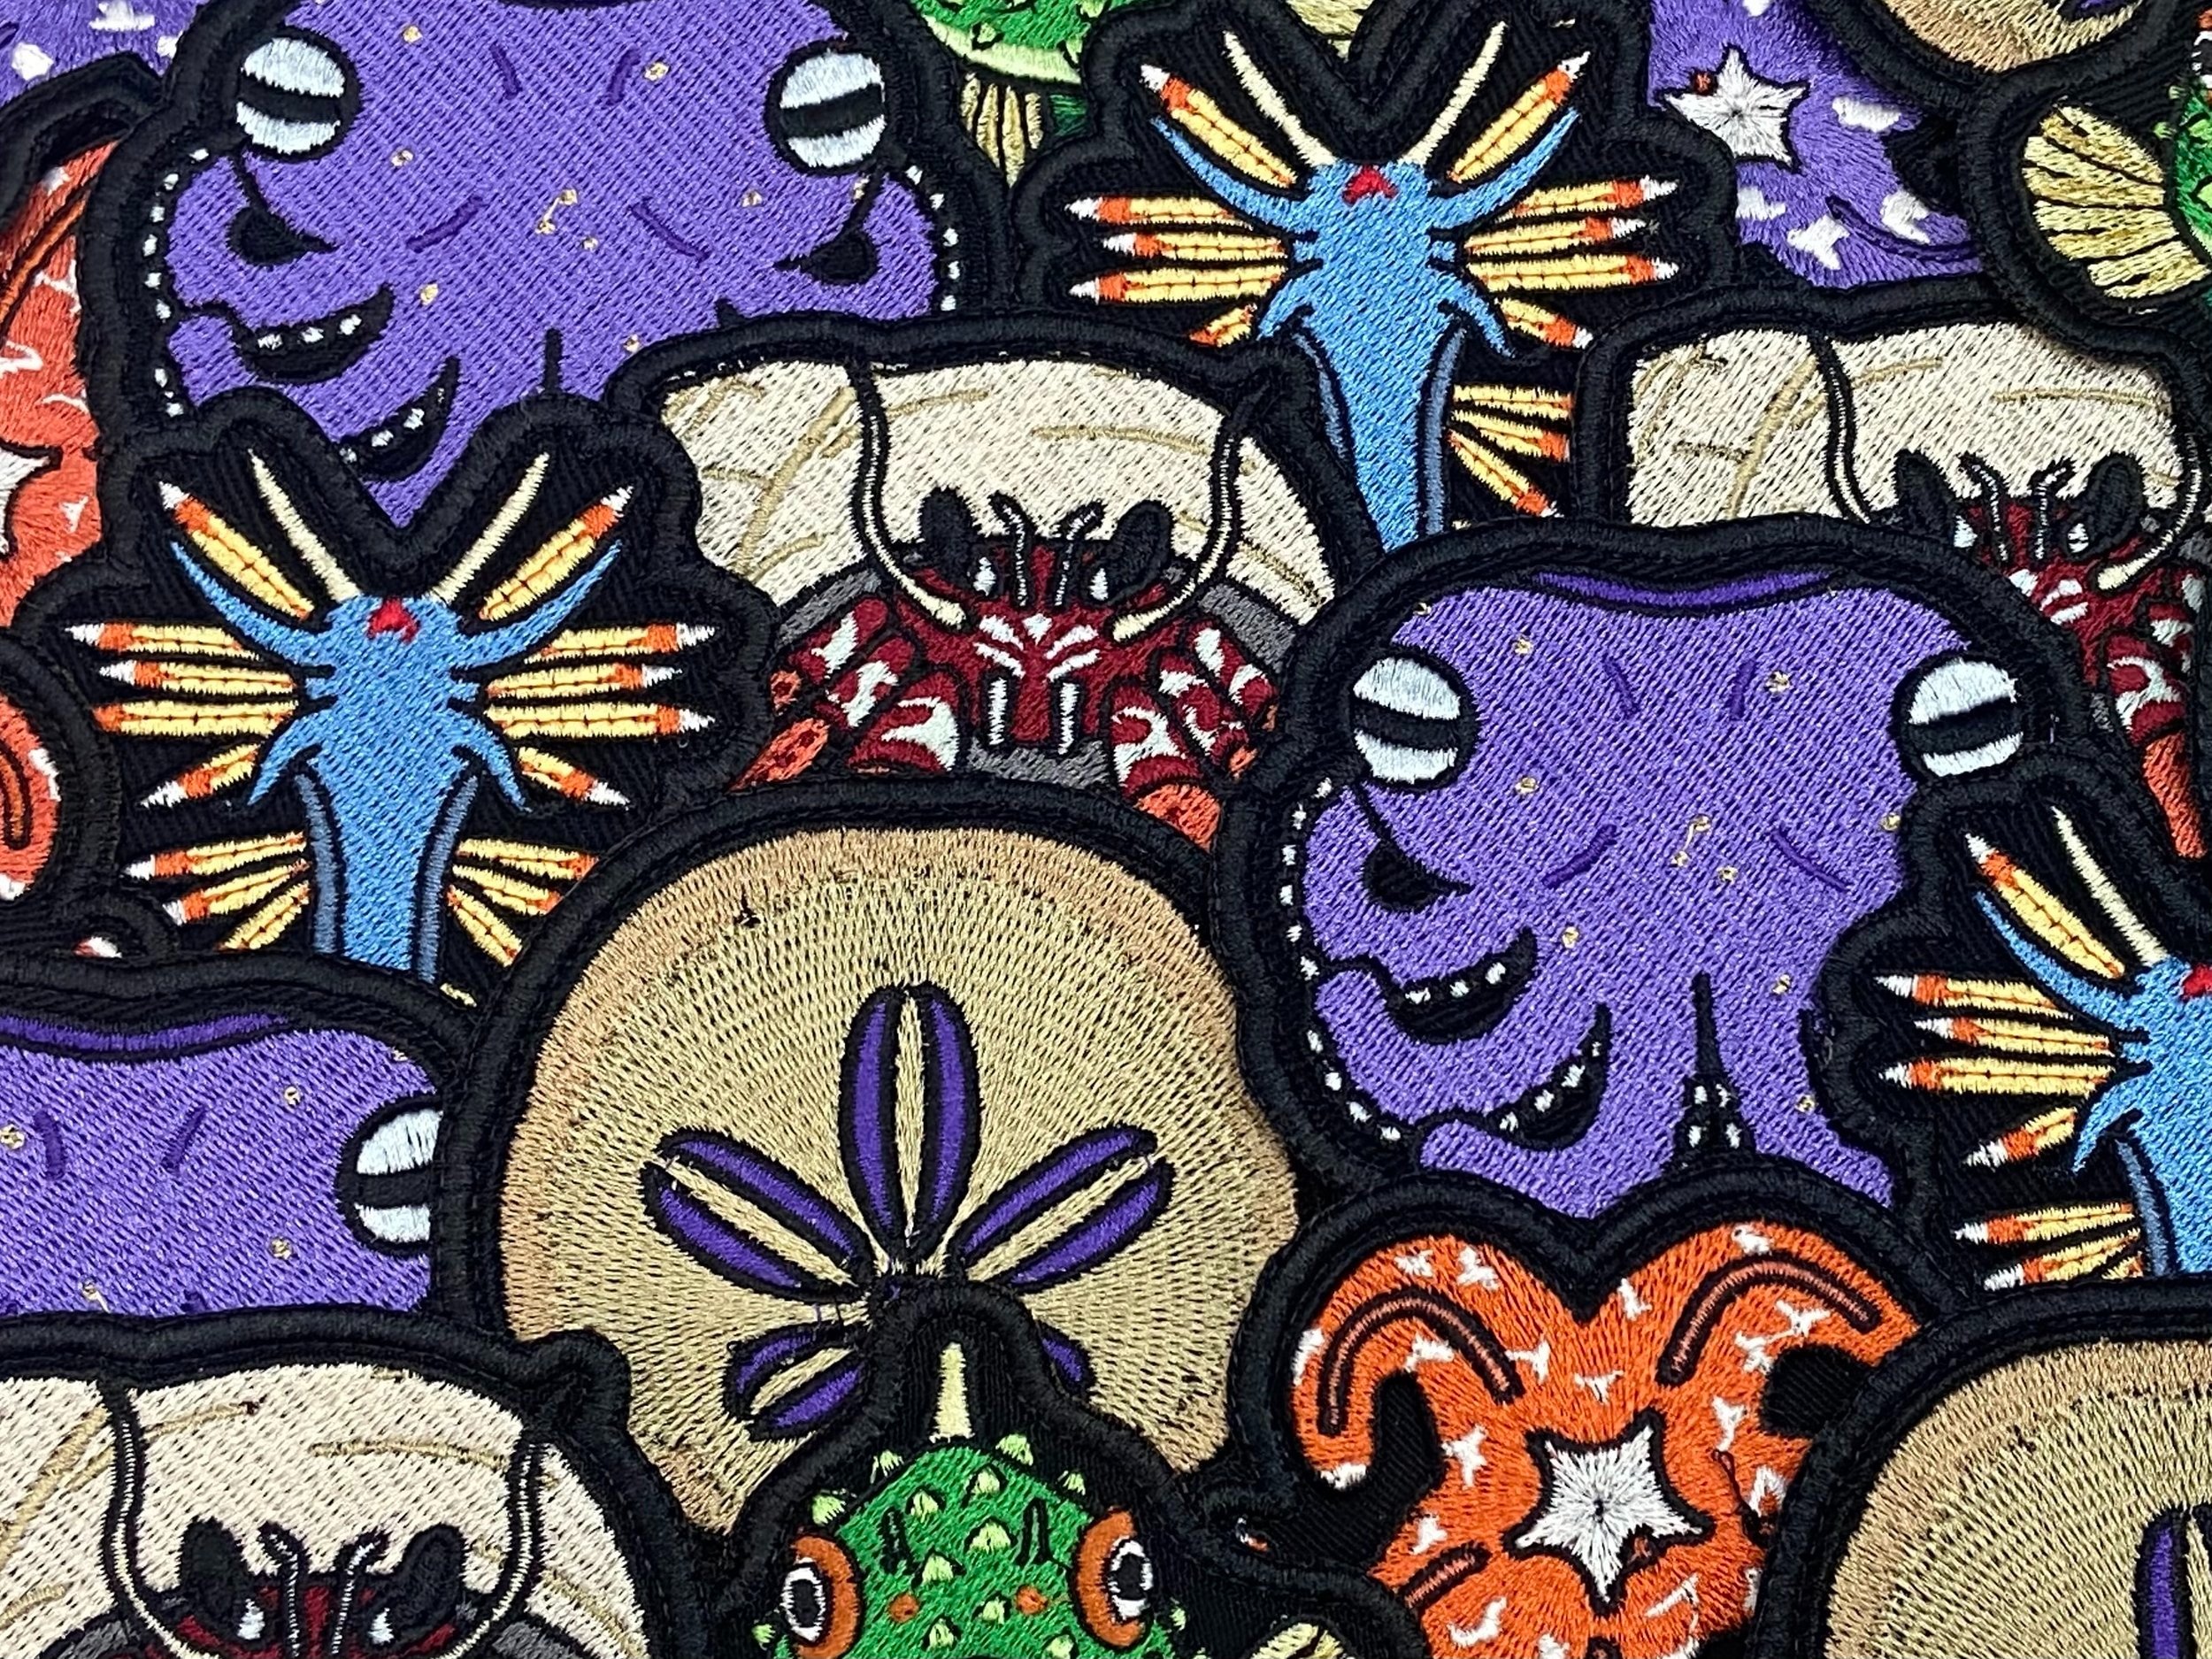
Ironing Critter Patches
Before Ironing your patch…
Iron-on patches work best upon the following materials:
Cotton, polyester, denim, canvas
They do not work so well on the following. For these, it is best to sew your patch directly into the garment or item instead:
Leather, nylon, rayon, silk, or waterproof materials
If the material you are planning to adhere your critter patch to isn’t listed, it is best to do your research in advance to avoid mistakes! It is always a good idea to check the clothing tag to learn more about the materials in your clothes. Your clothing tag will also tell you if it safe to iron.
! VERY IMPORTANT !
Clothing irons are very hot and can be very dangerous. Sewing needles whether for use by hand or in a sewing machine are very sharp. All of these tools require proper training prior to use and can lead to injury if not used properly.
If you do not know how to use a clothing iron, sewing machine, or sewing needle, or are not comfortable using these tools, Ask for help from a friend or family member.
Only experienced adults should iron & sew patches. If you are under 18, ask a parent or guardian for help before starting.
What you will need
To iron your critter patch as snugly as possible, it is recommended that you have the following materials on hand:
Your critter patch
The item you are applying the patch to
A standard clothing iron
Scissors (if you are applying your patch over a hole)
A thin sheet of fabric or pressing cloth (Pillowcases work well and are a manageable size)
A surface to iron on (Ironing board recommended)
Applying your patch
Choose where you would like to apply your patch. Depending on where you want your patch, it can be tricky to keep it from moving during the ironing process. If you are working on a sleeve or lapel for instance, it may be a good idea to use sewing pins to keep it in place. If you are applying your patch over top of a hole, use your scissors to trim any loose fraying around the hole. Leaving a very small amount of fray can help your patch adhere more snugly.
Heat up your iron. If you are using heavy-duty fabrics, heat your iron to the highest setting. A lower setting is generally suitable for delicate fabrics. Ensure that the steam setting is off.
Lay your thin sheet of fabric or pressing cloth over top of your patch.
Press the fully-heated clothing iron down on top of the patch, and hold for anywhere between 30 and 45 seconds. Be sure not to move the iron during this process as it may shift the patch around (especially if it has not been pinned)
Turn your article of clothing inside-out and prepare to iron your patch from the opposite side. Again, lay your thin sheet of fabric or pressing cloth over top of the patch and press the clothing iron down on top of the patch for 30 to 45 seconds.
Wait one hour for your article of clothing to cool down, and test your patch to see if it has ironed on snugly. The patch should not shift around or have any corners peeling up. If either of these are happening, repeat steps 4 & 5.
Caring for your new patch
If your patch is on an article of clothing that will be regularly washed, avoid the use of hot water and the use of a dryer. When using a washing machine, turn your article of clothing inside out and use a gentle cycle if possible.
High heat can reactivate the adhesive on the back of the patch and cause the edges of the patch to peel up. If this happens, you may try re-ironing your patch or stitch in the edges with a sewing needle.