
Applying Critter Stickers
Before applying your sticker…
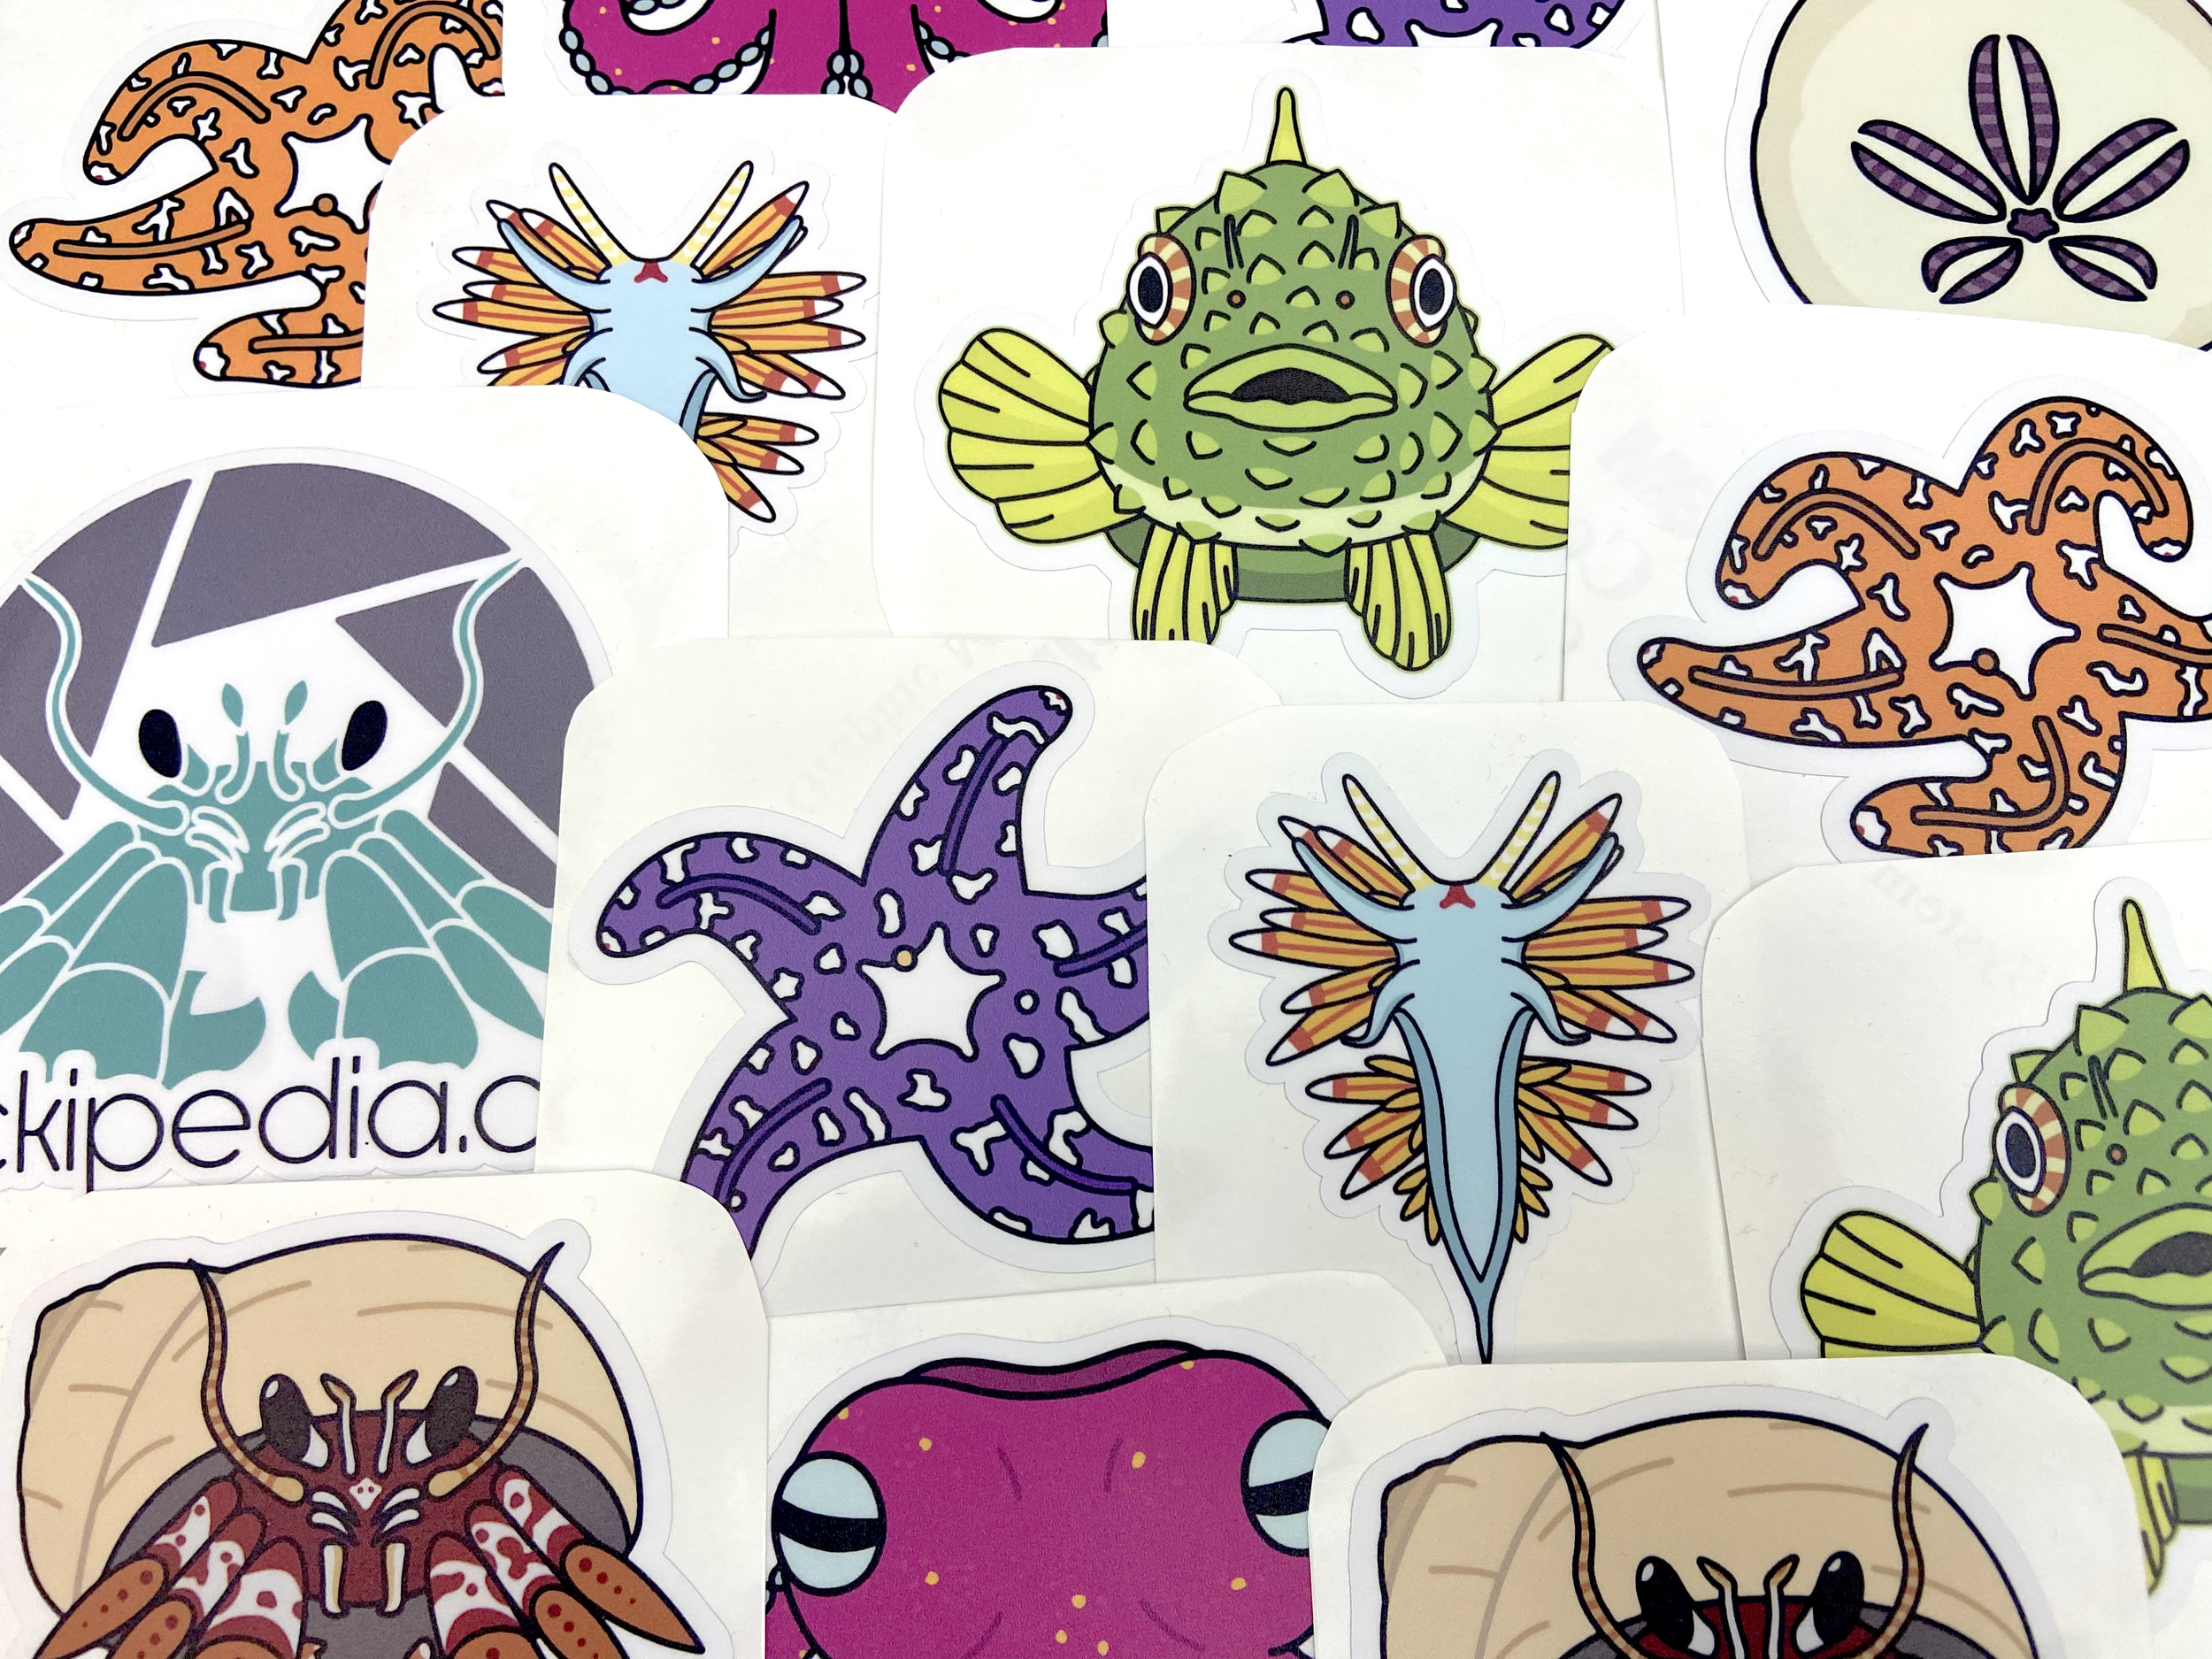
Critter stickers can be used just like any other stickers available. There are many small things you can do to ensure that your stickers look nice and last as long as possible. If done correctly, your stickers will last a very very long time.
Critter stickers are made from a durable vinyl material that makes them suitable for use in any indoor or outdoor setting. They are waterproof, weatherproof, and are suitable for use in any climate (except for the arctic & antarctic)
Stickers can be applied to almost any smooth, non-porous surface. Examples include:
Car exteriors, laptops, water bottles, windows, glass, aluminum, chrome, plastic, steel, etc.
What you will need
To secure your sticker as snugly as possible, it is recommended that you have the following materials on hand:
Your critter sticker
The item you are applying the sticker to
Dish soap, warm water, & a towel
A credit/debit card or similar object (For removing any bubbles)
Applying your sticker
Choose where you would like to apply your sticker. Stickers are best applied to surfaces that are either flat, or curve in one direction such as a water bottle or scuba tank. Applying stickers to rounded surfaces will leave creases in the sticker that can cause the sticker to peel off more easily.
Clean the surface of the item you are applying your sticker to. gently wash the surface with warm water and soap. Thoroughly rinse/wipe off any soapy residue. Take extra care if applying your sticker to an electronic device or anything else that has parts that shouldn’t get wet!
Ensure that the surface is completely dry by wiping it down with a cloth or towel. Using warm water during cleaning will help the surface dry faster.
Gently peel your sticker off of the vinyl backing. Take extra care if your sticker is an interesting shape as it may stretch as it is pulled off!
From one edge, gently lay the sticker down. If you would like, you can use a credit card or similar object to smooth out the sticker as you apply it. This reduces the chance that any bubbles will get stuck underneath. If bubbles do appear, lift the sticker back up so the bubble can escape and retry.
Congratulations! Your sticker is now snug in place and will last a very long time!
Caring for your sticker
As Critter Stickers are built for rough conditions, very little effort is needed to keep your stickers looking great and staying in place. As long as you avoid dropping it in boiling water or liquid nitrogen, your sticker will continue to be in great shape.
Of course, they can always be removed at any time simply by peeling them off with your fingernail. When removing a sticker, you can try re-applying them to a different surface! They may be less sticky but its worth a shot!